3-Minute Customization Method
Preparation
Get a clear understanding of your arch type first, if you are not sure, please refer to the arch test paper for testing.
Step 1
Select the shoes you want to upgrade, and take out the original insoles of the shoes, so that you can quickly customize the insoles smoothly.

Step 2
Prepare a high-temperature container (make sure it can be filled with boiling water, such as a washbasin, washing Foot basin).

Step 3
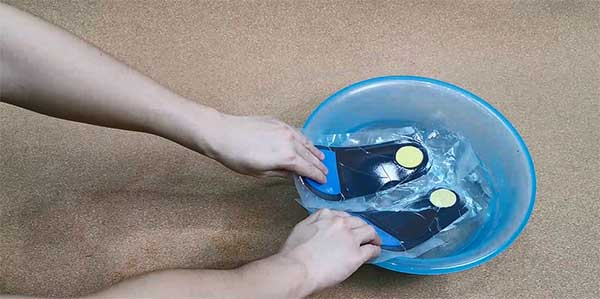
Pour the freshly boiled boiling water (>85°C) into the prepared container to ensure sufficient water.

Step 4
Put a pair of insoles with the bottom facing up and the heels facing down into the water. Make sure that 2/3 of the whole insole is immersed in boiling water, and start heating for 25 seconds (cork insoles are 90 seconds)

Step 5
Take out the insole, tear open the vacuum packaging, and quickly put it in the shoe

Step 6
Check the manual, and choose the corresponding action according to your foot type (if you are not sure about the test, please test according to the arch test paper) (the flat foot action is shown here).
- Heel shaping
Stand naturally, with feet shoulder-width apart, hold the support, slowly lean back, place your weight on the heel, hold for 10 seconds, and shape the heel cup part of the insole.

- Foot arch shaping
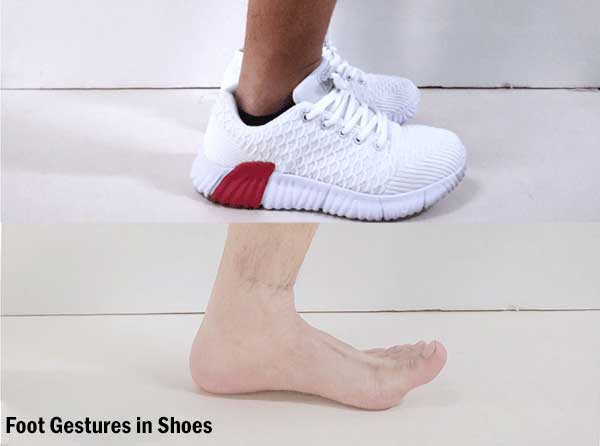
Hold the support, slowly bend the knees and squat, and forcefully lift the forefoot and toes, hold for 10 seconds to shape the arch of the insole.
Toe upward movement demonstration (Note: This movement can temporarily restore the flat foot arch, and the flat foot can also get comfortable arch support according to this movement)


- Comprehensive shaping
Hold the support, slowly lean forward, put the center of gravity on the forefoot, hold for 10 seconds, and shape the forefoot and other parts of the insole.
Then resume to stand naturally, and after 1 minute, the insole is customized.

Notice:
Pay attention to prevent burns;
Please follow the steps correctly, if you have any questions, please consult customer service;
